
Nishant
June 25, 2026
You should always be able to build
Two updates at NonBioS that we've been wanting to ship for a while - and a signal of where we're headed.

In the first episode of our "Vibecode Your SaaS" series, we built and deployed a complete Health Tracker application from scratch, covering everything from database setup to SSL certificate configuration.
Author:
Published:
Updated:
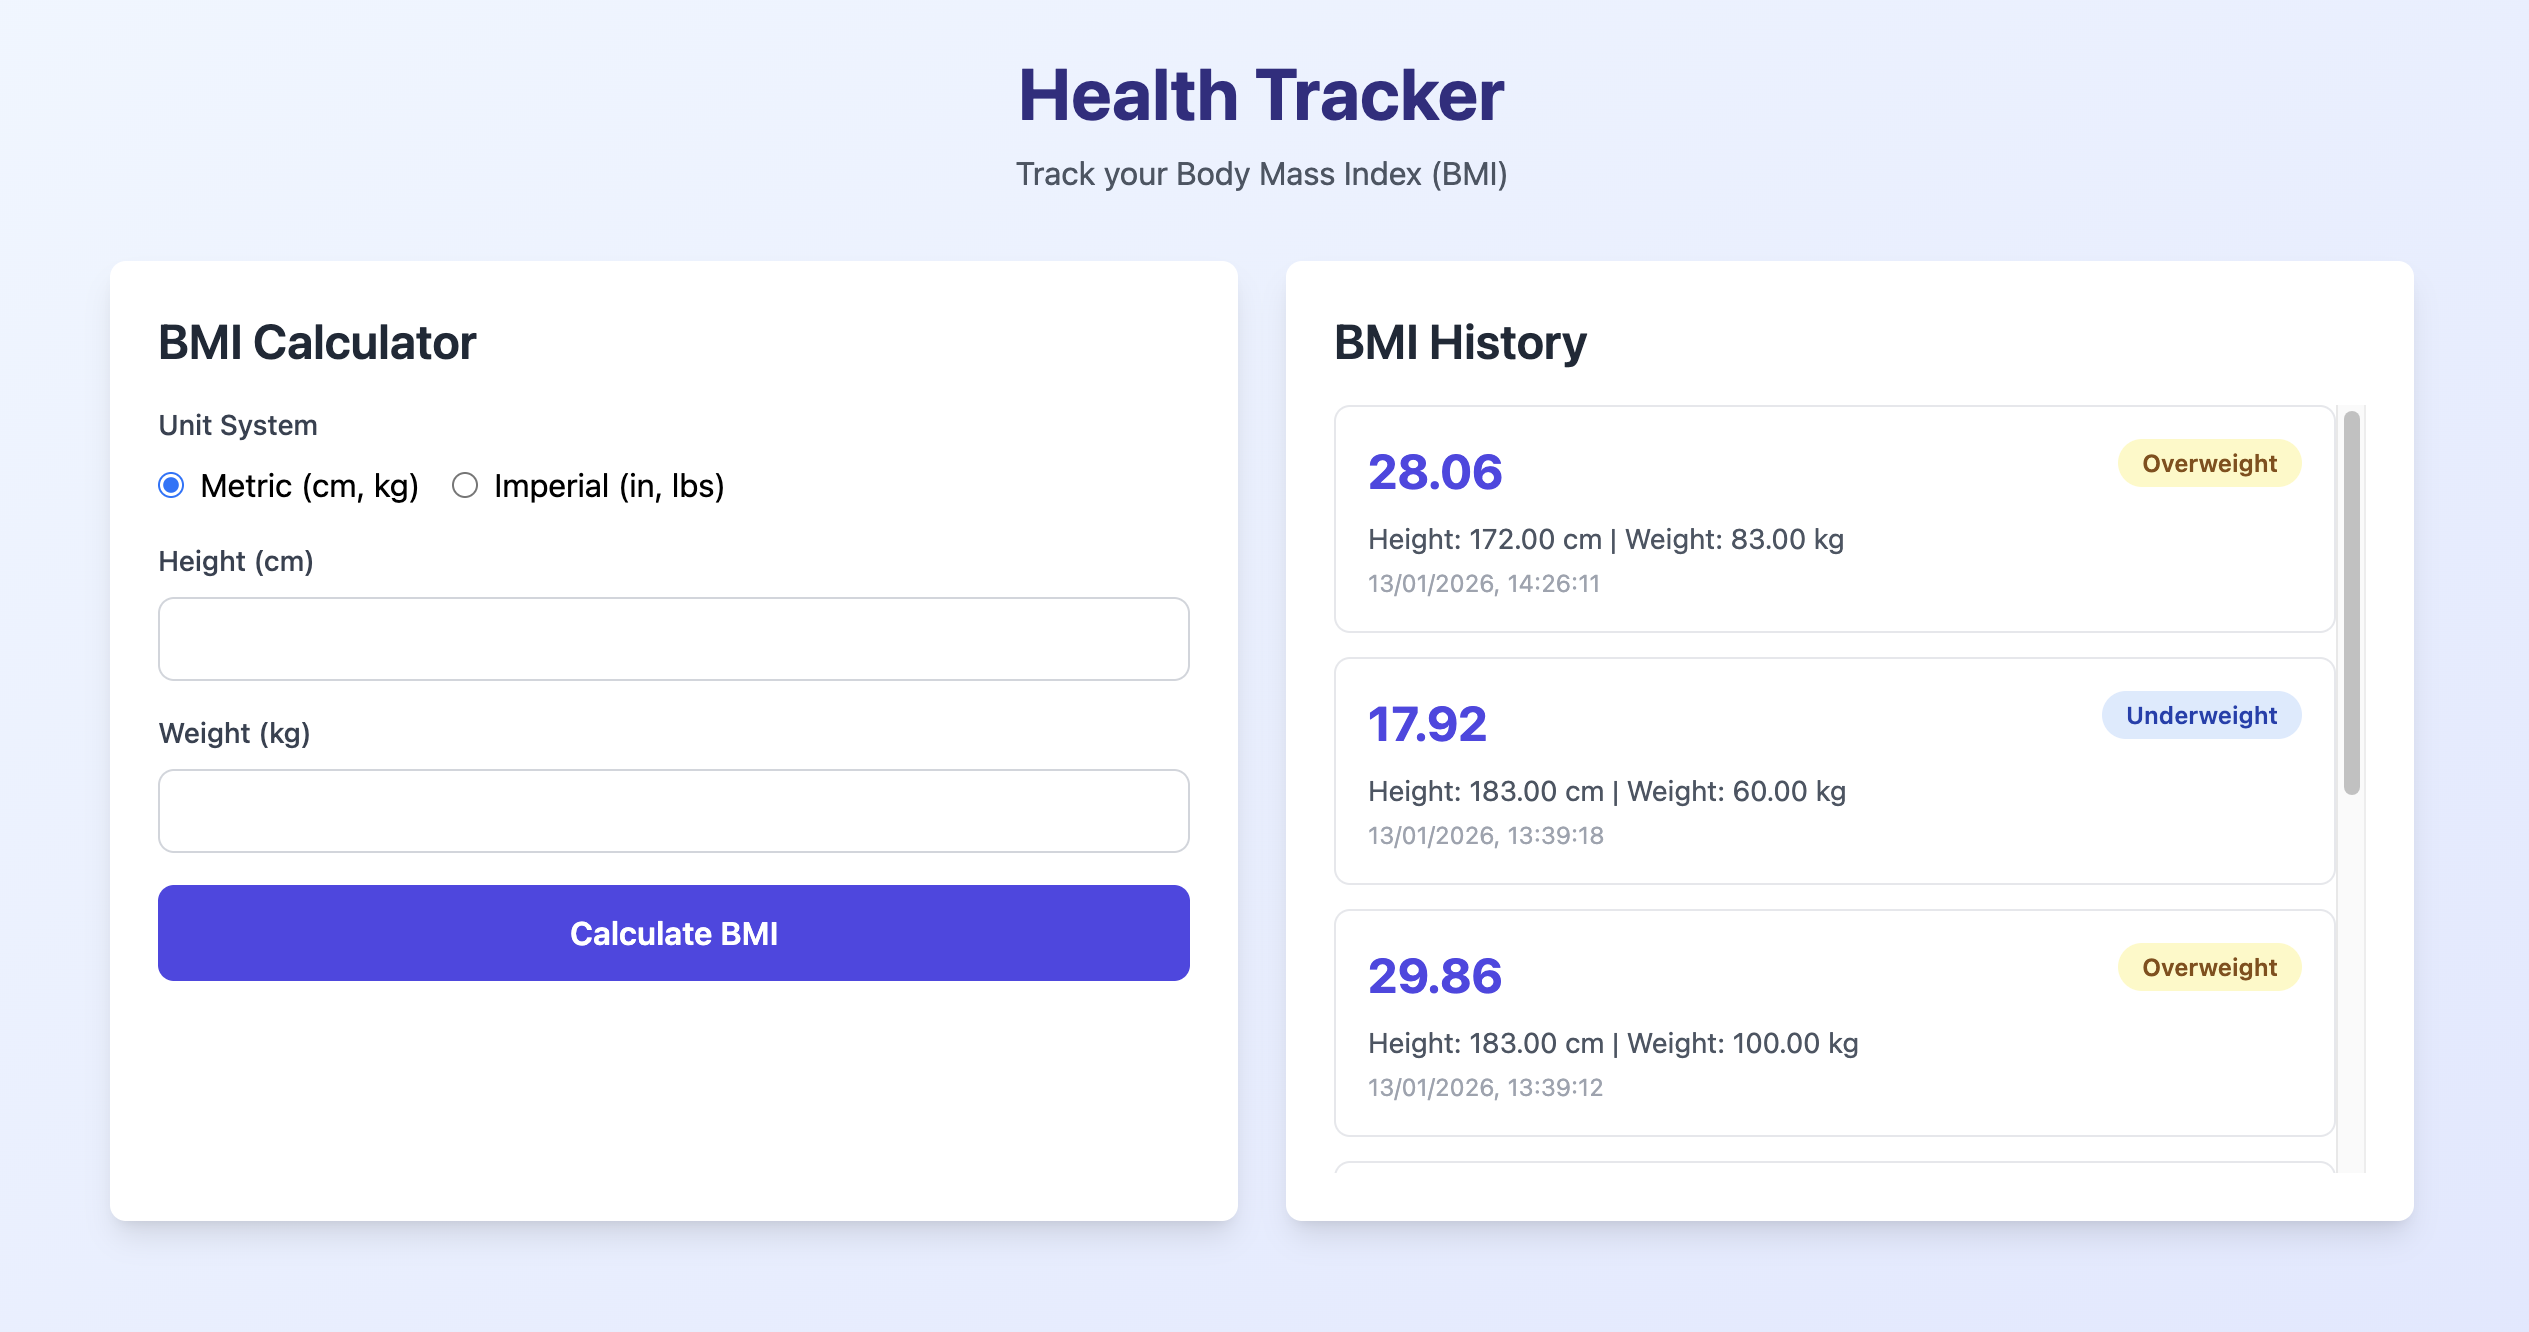
Building a SaaS application is one thing. Deploying it so others can actually use it is another challenge entirely. In the first episode of our "Vibecode Your SaaS" series, we built and deployed a complete Health Tracker application from scratch, covering everything from database setup to SSL certificate configuration.
This isn't a simple "hello world" - it's a full-stack application with persistent data storage, custom domain configuration, and production-ready security. Here's exactly what we built and how you can follow along.
What We Built
The Health Tracker is a web-based BMI (Body Mass Index) calculator with history tracking. Users can:
The application uses a PHP backend with MySQL for data persistence, and a Tailwind CSS frontend for responsive design.
Technical Stack
Frontend:
Backend:
users and bmi_recordsInfrastructure:
Step-by-Step Breakdown
1. Application Planning and Generation
The build started with a simple prompt to NonBioS: "I want to build a health tracker application starting with BMI tracking."
NonBioS generated a complete application plan including:
2. Database Setup
NonBioS automatically created:
health_trackerhealth_user with appropriate permissionsusers table for user managementbmi_records table for storing BMI calculations with foreign key relationshipsThe schema includes timestamps for tracking when calculations were made, supporting both metric and imperial unit systems.
3. Application Deployment to Apache
The application was deployed to /var/www/html/health-tracker/ with proper file permissions set for the Apache web server. At this point, the application was accessible via the server's IP address but not yet connected to a custom domain.
4. Custom Domain Configuration
For this tutorial, we used a domain purchased from Namecheap.com (nonbios-health-tracker.xyz), but the process works with any domain registrar (GoDaddy, Google Domains, Cloudflare, etc.).
Key insight: Every domain registrar provides a DNS management dashboard where you configure how your domain resolves to IP addresses.
Initial DNS Configuration
The first step was creating an A record:
This tells the DNS system: "When someone types nonbios-health-tracker.xyz, direct them to this IP address."
Apache Virtual Host Configuration
After configuring DNS, NonBioS automatically:
a2ensiteThe Virtual Host configuration maps the domain name to the application directory, allowing Apache to serve the correct application when requests come in for that specific domain.
5. DNS Troubleshooting with DNSChecker
Initial Problem
After the first DNS configuration, attempting to access the domain resulted in a DNS_PROBE_FINISHED_NXDOMAIN error - the domain wasn't resolving at all.
Using DNSChecker.org
DNSChecker.org is a free tool that queries DNS servers worldwide to check if your DNS changes have propagated. The initial check showed red crosses across all servers - the DNS records weren't being picked up globally.
Root Cause Analysis
Going back to the Namecheap DNS settings revealed the issue:
www.nonbios-health-tracker.xyzThe Fix
Two changes were needed:
Change 1: Delete the URL Redirect Record
Change 2: Add a second A record for the www subdomain
Now both nonbios-health-tracker.xyz and www.nonbios-health-tracker.xyz pointed directly to the server.
Understanding DNS Propagation
After making DNS changes, propagation can take anywhere from a few minutes to an hour (sometimes longer). This is because:
Using DNSChecker.org, we could see the green checkmarks gradually appearing as more DNS servers worldwide picked up the new configuration.
Pro tip: Don't panic if your domain doesn't work immediately after DNS changes. Use DNSChecker.org to monitor progress rather than repeatedly testing in your browser.
6. SSL/HTTPS Configuration with Let's Encrypt
Once the domain was accessible via HTTP, the next step was adding SSL/HTTPS for secure connections.
What is Let's Encrypt?
Let's Encrypt is a free, automated, and open Certificate Authority that provides SSL/TLS certificates. It's become the standard for adding HTTPS to websites without paying for commercial certificates.
Certbot Installation and Configuration
NonBioS automated the entire SSL setup process using Certbot, the official Let's Encrypt client:
Step 1: Install Certbot and the Apache plugin
bash
apt-get update
apt-get install certbot python3-certbot-apache
Step 2: Obtain and install the SSL certificate
bash
certbot --apache -d nonbios-health-tracker.xyz -d www.nonbios-health-tracker.xyz
Behind the scenes, Certbot:
Step 3: Configure automatic renewalCertbot includes a systemd timer that automatically checks for certificate renewal. The certificate renews automatically before expiration, requiring no manual intervention.
SSL Configuration Results
The completed SSL setup included:
7. Final Verification
The application was now accessible at:
https://nonbios-health-tracker.xyz (primary URL)https://www.nonbios-health-tracker.xyz (www subdomain)The browser displayed the green padlock icon, confirming:
Key Takeaways and Best Practices
DNS Configuration Tips
SSL/HTTPS Best Practices
Development Workflow Insights
https://your-app.com is infinitely better than "it's on my laptop"Tools and Resources Used
What's Next in the Series
This is just the foundation. In upcoming episodes, we'll progressively add features to transform this MVP into a full-featured SaaS application:
Each episode will be driven by community feedback - what features would you like to see added next ?
Quick signup, give NonBioS a high-level instruction, see progress within minutes. Your first multi-hour session is on the house.
No Credit Card Required


